
Even though I am showing Scenario 1 of the Campaign “Grim Reaper” here, the spoilers are minimal, as most of the scenario are random and could work out totally different for you. The main spoiler here is the following, but also part of the scenario description before you even start the scenario (so you will know all this as soon as you read the scenario description):
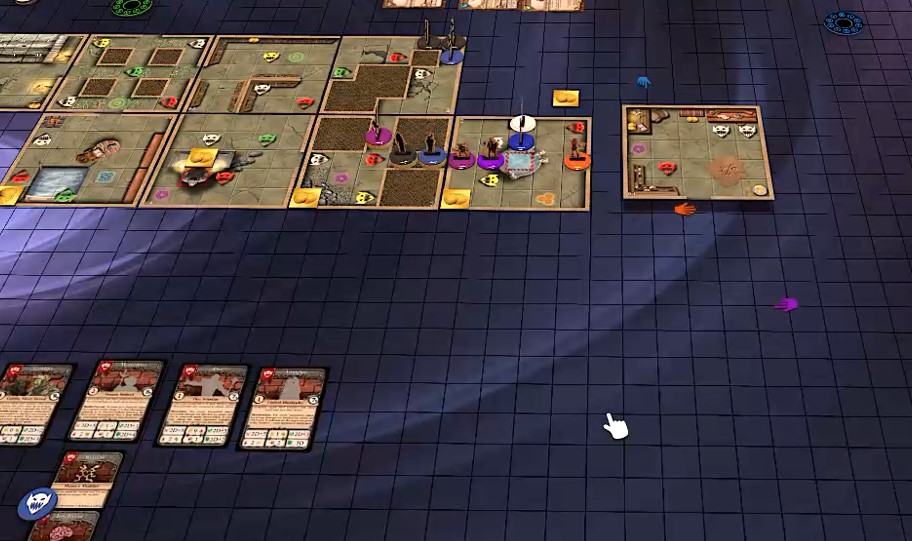
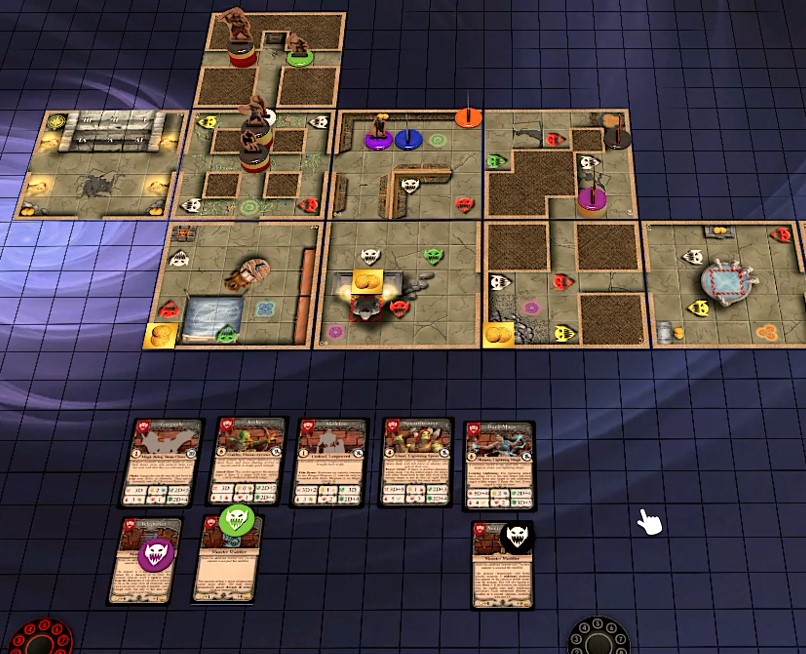
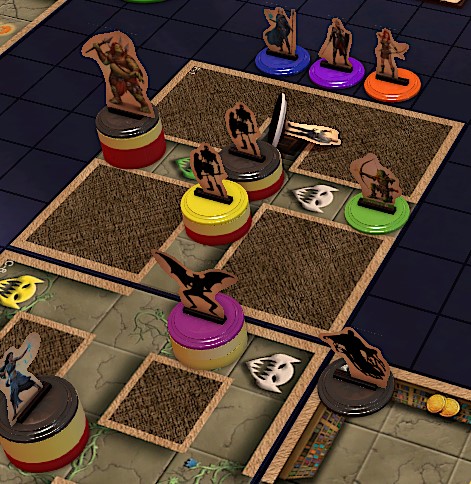
Trapped when entering this dungeon, you are now being hunted by the Grim Reaper itself – it is slowly coming for the slowest character, moving at a steady pace of 5 squares per round. The Grim Reaper is depicted by a Poltergeist figurine, so if a Poltergeist monster is drawn, no Poltergeist is added as usual, but the Grim Reaper has an extra activation. Grim is not directly deadly, but with 4 damage that ignores armor, he can be a real problem quickly. As the last Room Tile, the one with a ladder is used – as soon this room is reached, the characters can try to escape using the old and wiggly ladder. The Grim Reaper starts on the same tile as the characters (the black figurine on the picture below). As characters we chose the Shield-Maiden (purple), Mage (blue), Adventurer (white) and Huntress (orange).
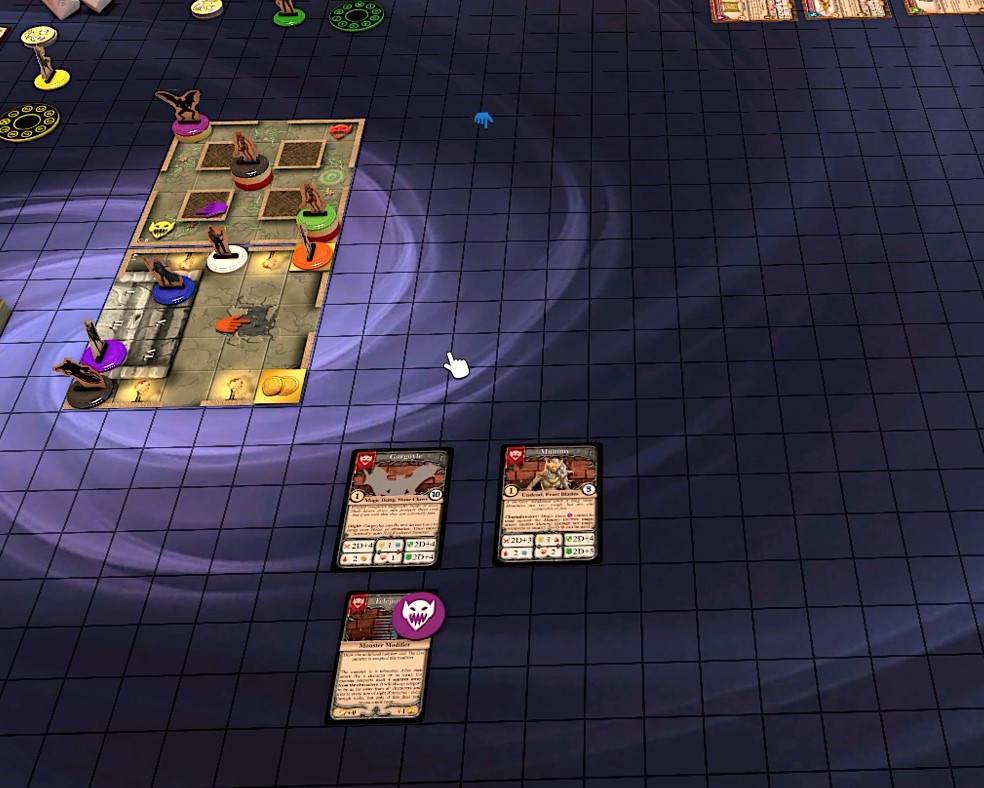
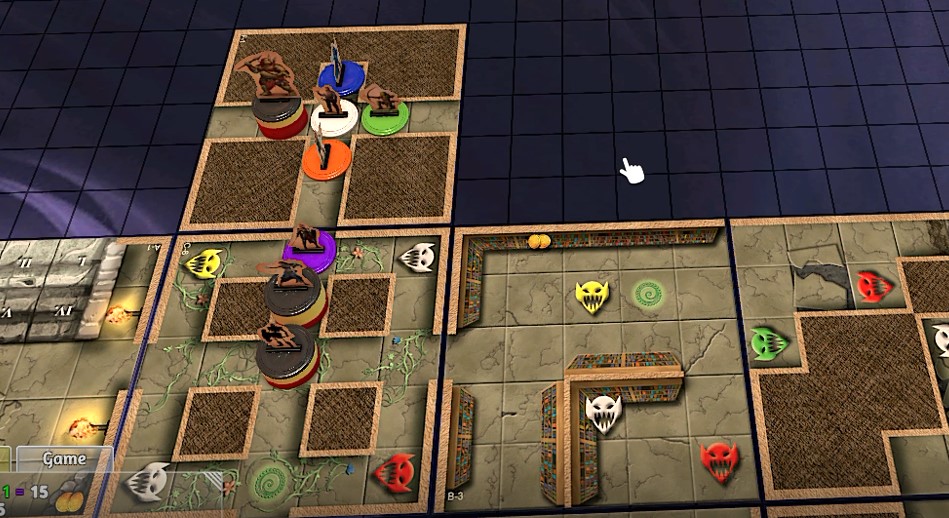
As we needed to move quickly and escape the reaper, the Adventurer quickly opened a door, revealing a room with large pillars, populated by a Gargoyle and 2 Mummies. The Gargoyle also showed that it was a Teleporter, glitching away 4 squares after every attack. Lucky for us, the Mage had a spell that specifically targets undead monsters – hopefully taking care of the Mummies quickly. The Adventurer (as quick as he was) could not really do anything (with weapons that could not penetrate any of their armor), so he focused on the treasure chests still available in the first room.
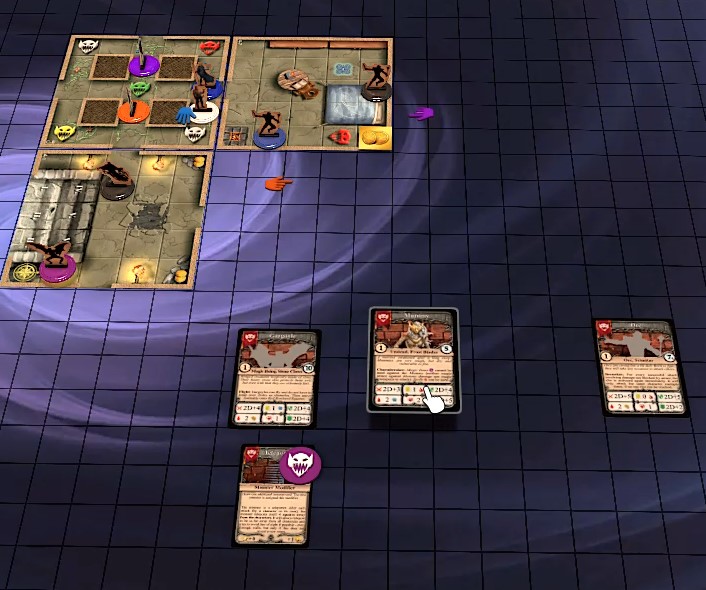
The whole group moved quickly into the new room to escape the reaper and killed the two Mummies. To possibly move further ahead of the Grim Reaper, the Mage opened another door – revealing a dead end with two Orcs. Nowhere to go here, so the group decided to ignore the Orcs for now and open another door to move ahead.
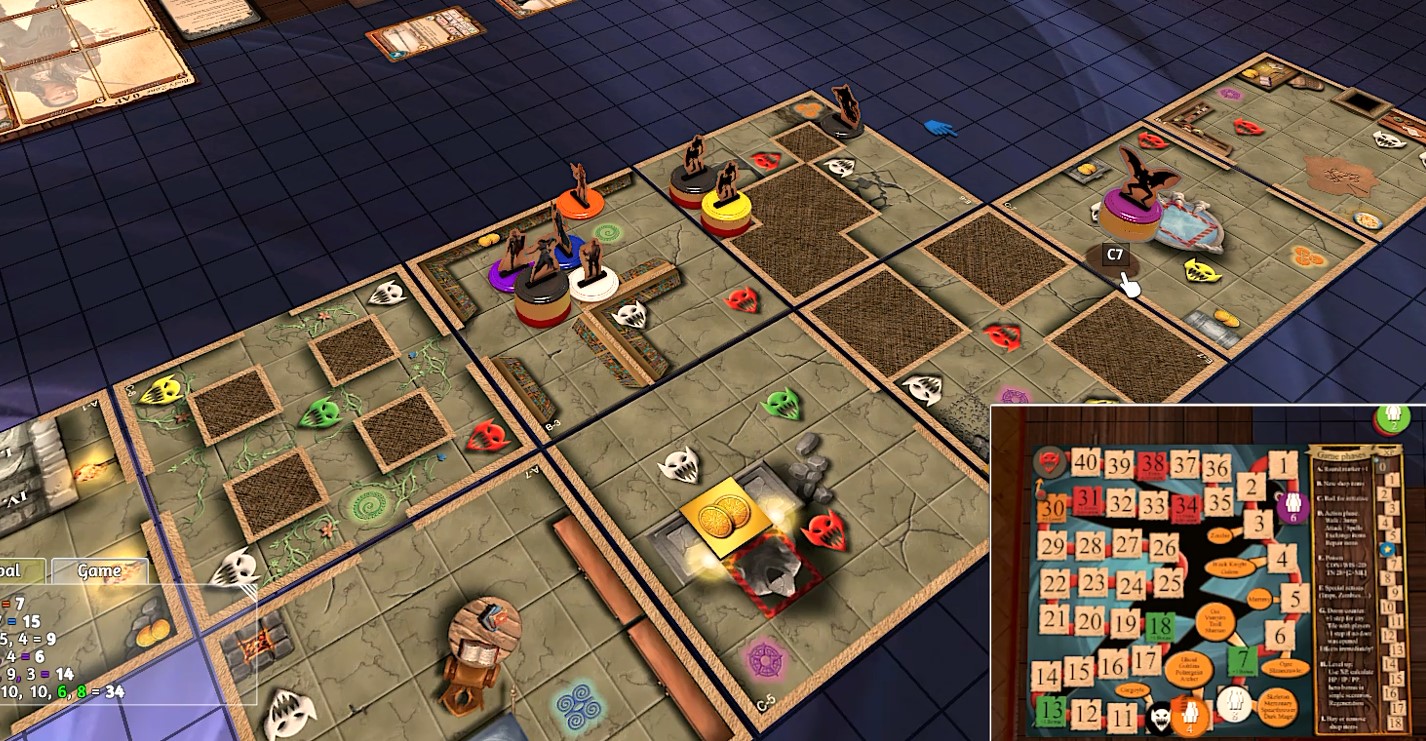
The Shield-Maiden opened the door and revealed a large room, expanding onto 4 Room Tiles (needed to rotate the dungeon a bit to fit better)! This large room showed a Vampire, 2 Goblins, a Skeleton and a Mercenary – and 2 Poltergeists, translating into an instant double activation for the Grim Reaper. Luckily the Huntress rolled a good defense both times.
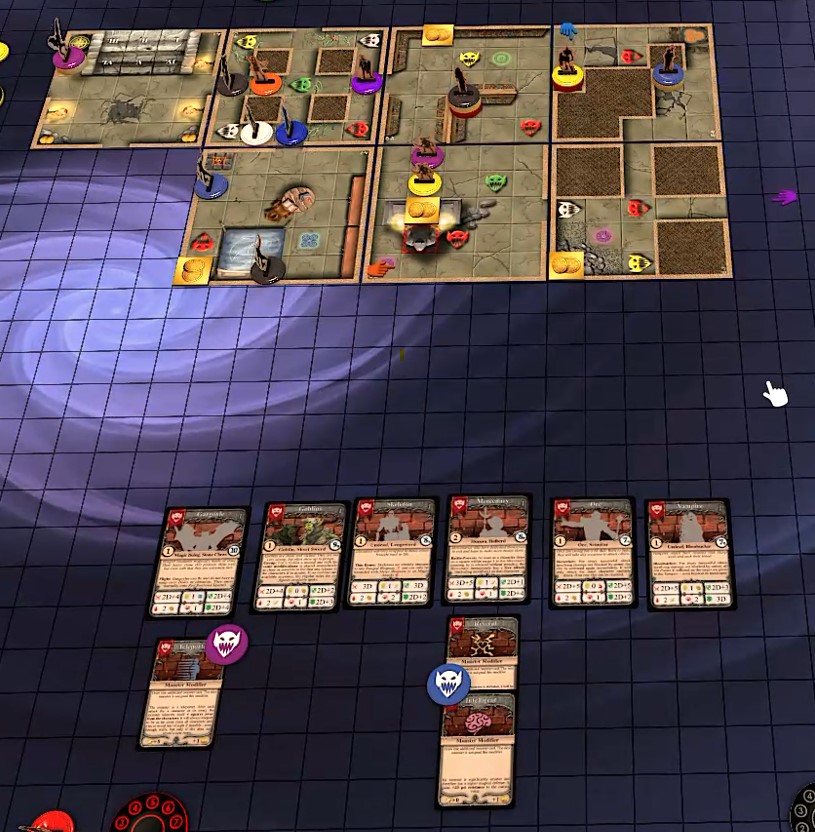
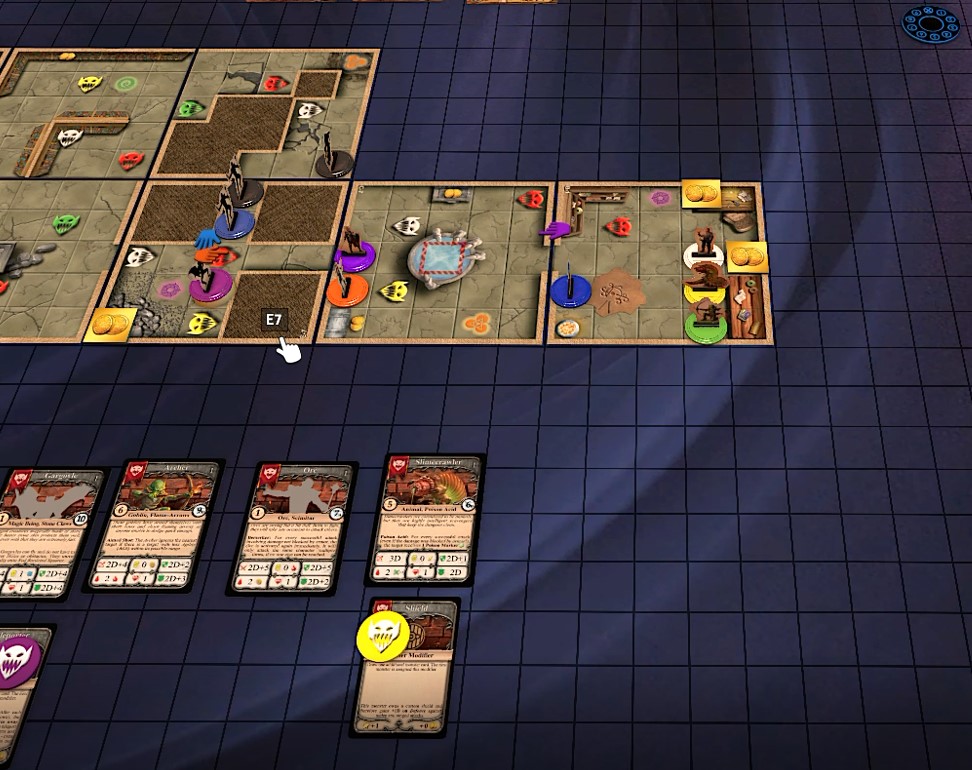
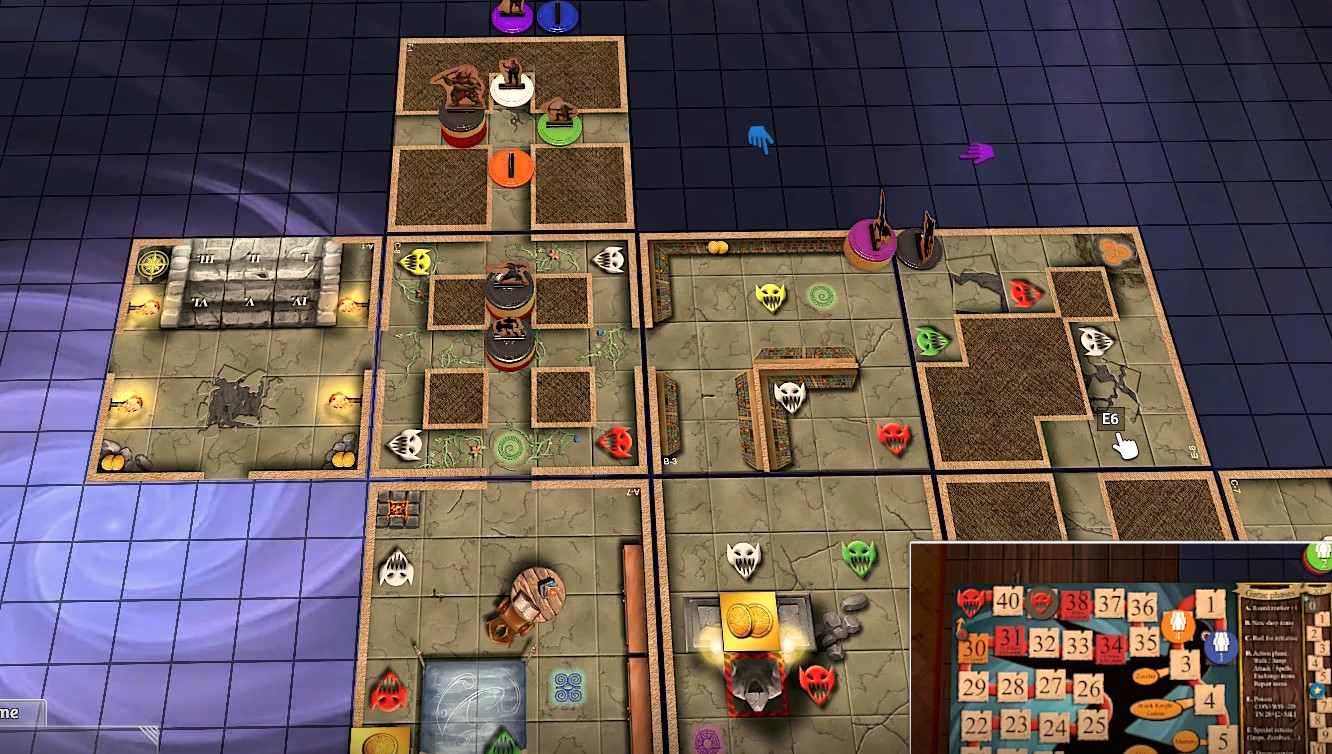
The group decided to run and ignore the monsters, moving past them, then barricading within the room with the long corner. The Skeleton and the Goblin were quickly taken out, but the rest of the monsters were resisting defeat. So the group decided to open the next room and move on quickly before the Grim Reaper comes closer. This new room revealed only one other exit – hopefully the ladder out of this dungeon is close! The room was only occupied by a Slimecrawler, and the Adventurer took care of that easily.
With the Huntress being the fastest, she opened the next door to see where the dungeon leads us – only to reveal another dead end! Oh no, we are trapped now, with the Grim Reaper and all monsters coming for us! Our wager to run from the monsters did not pay off, now we need to fend them off and still find the exit…
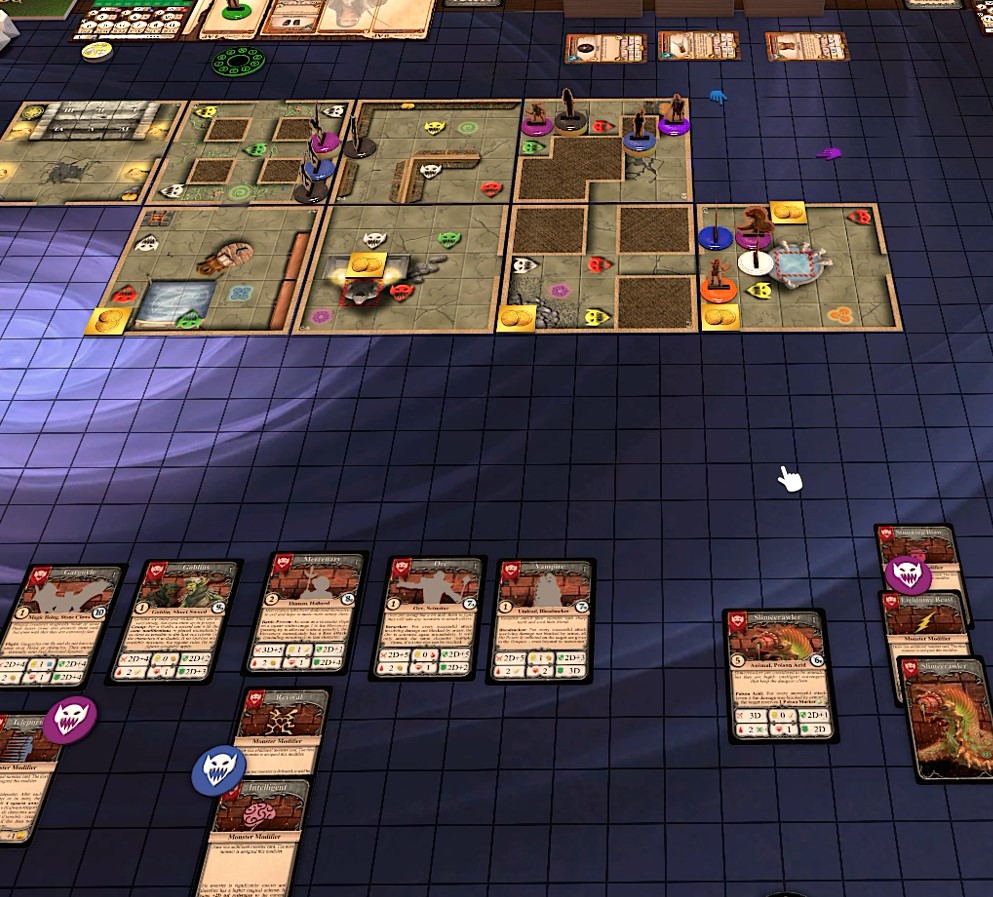
Within the dead end, another Slimecrawler and a Goblin Archer waited for us. Two characters ran into the room to take care of these, while the rest took care of the upcoming horde running behind us. The plan is to lure the Grim Reaper in and then run around the well to find the exit ladder – and take care of a few monsters on the way if possible.
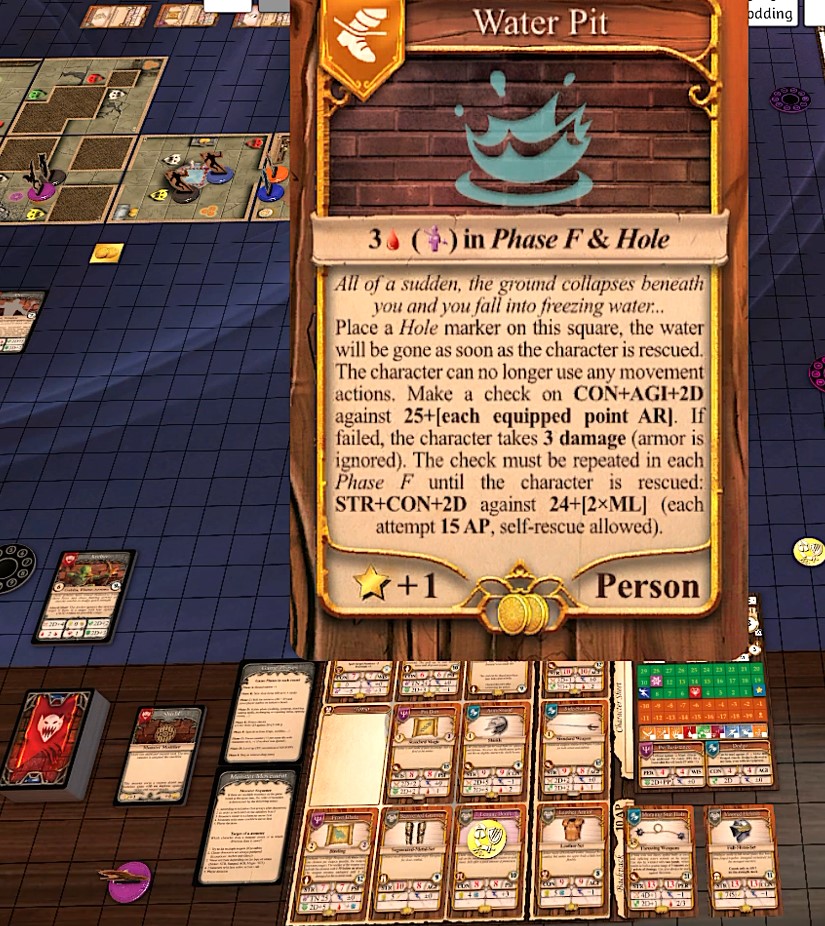
Unfortunately, while searching for treasure, the Adventurer triggered a Water Pit trap – directly loosing a few hit points due to drowning. As the Adventurer is not able to come out of the pit easily, the rest of the group comes into the same room to barricade against the monsters coming closer.

Again, the group decides it is better to simply run instead of taking care of all the monsters including the Grim Reaper. The Adventurer climbed out of the water pit himself without any help, so all are free to move out of the room.
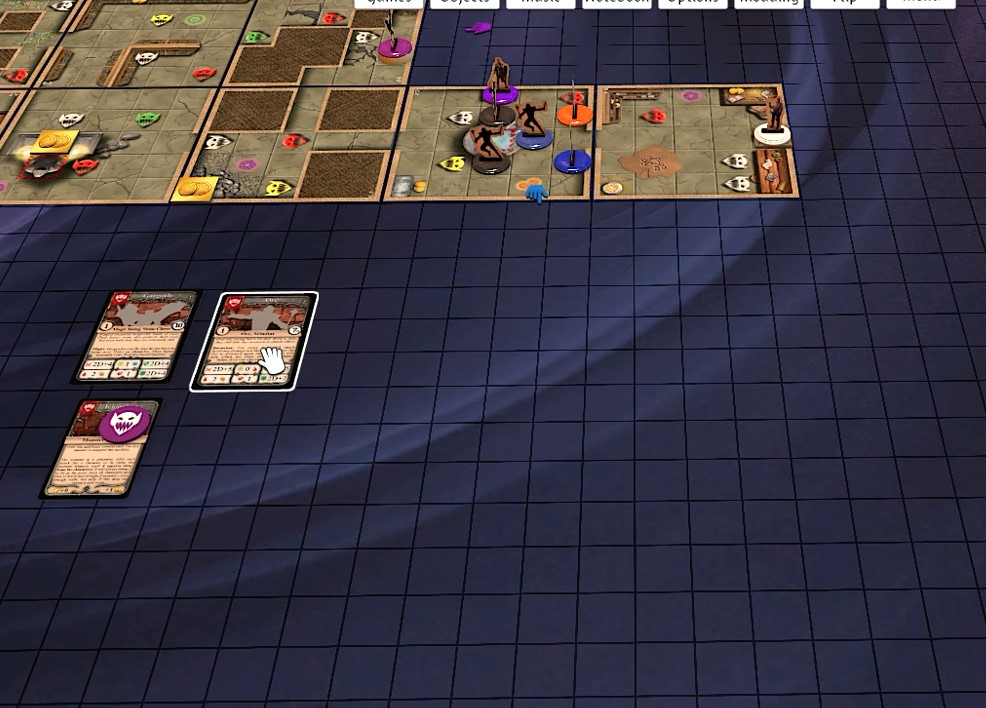
The Huntress is quick enough and decides to attack an Orc. She is successful, but while defeating the Orc, she also triggered a Teleport Trap!
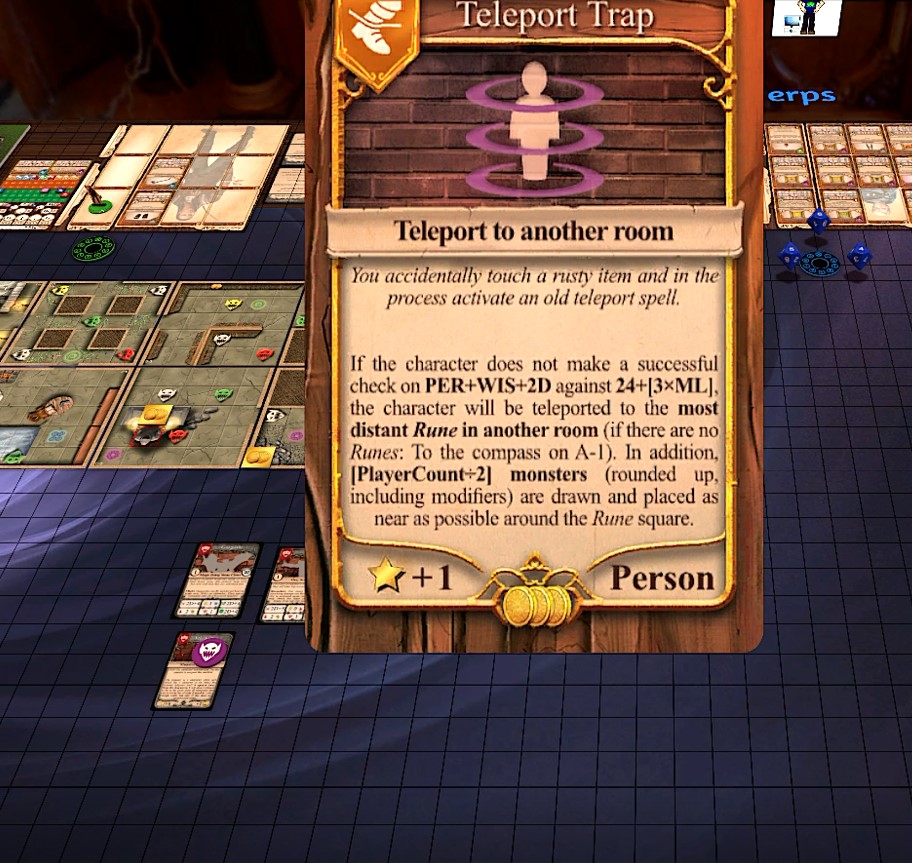
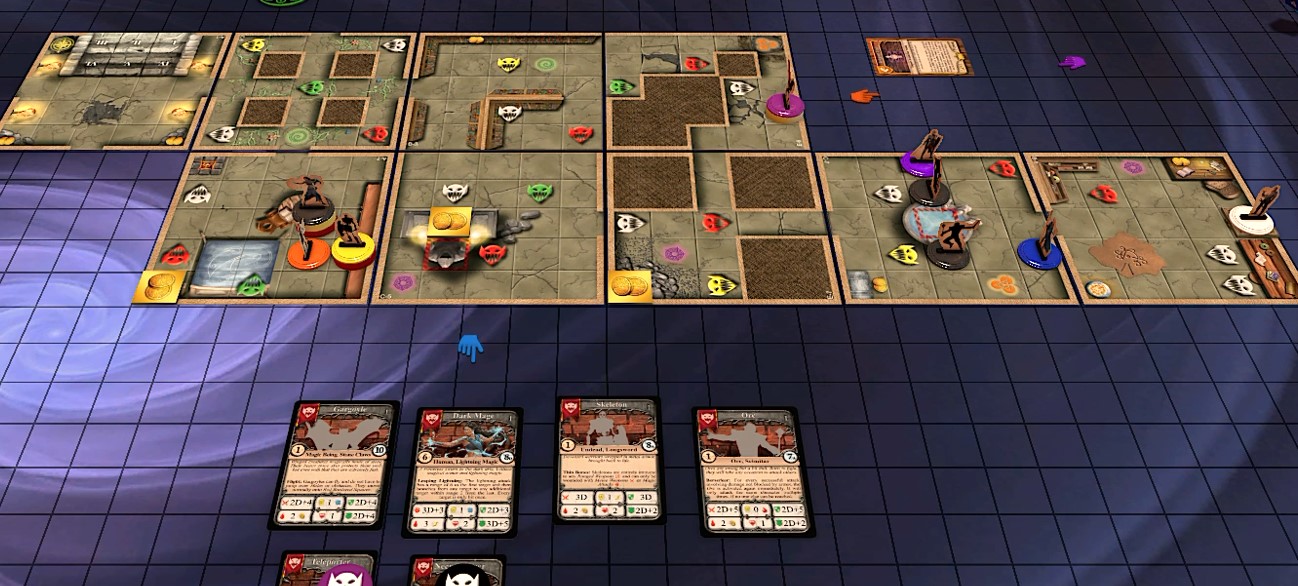
Her skills against magic traps are not high enough, so she is teleported onto another room tile and 2 additional monsters spawn. A Dark Mage and a Skeleton. The Dark Mage also is a Necromancer, directly spawning another Skeleton.
With the group being separated, we hold on to the plan and run as fast as we can to the Huntress. The Shield-Maiden blocks an attack from the Grim Reaper and then runs as fast as she can.
The Huntress ignores the Skeletons, and as the Dark Mage (using long-distance lightning attacks) moved away, the way is free to re-unite with the group. Unfortunately, this also allows both the Skeletons and the Dark Mage to attack the group, but with the attacks being distributed over the whole group, we manage to get away with a few bruises only.
With the Reaper directly behind us, we move around all the monsters and try to find the exit quickly – we do not see a chance of defeating all of them before the group is roasted by the Dark Mages lightning.
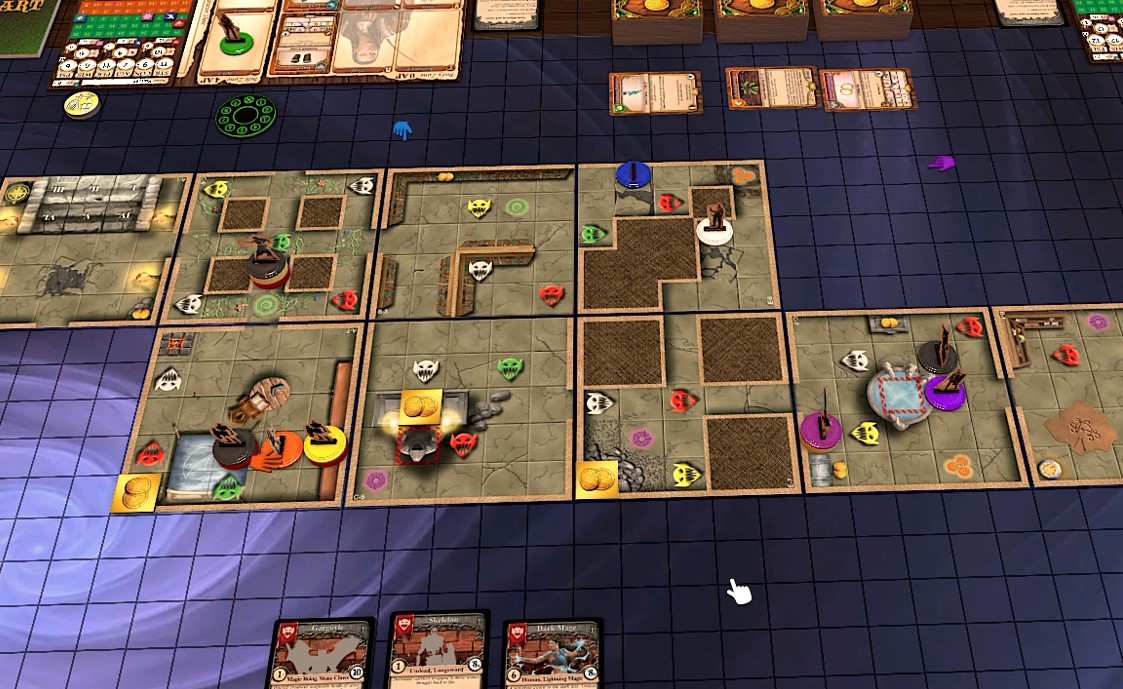
The Adventurer is the fastest, opening a new door, finally revealing the exit ladder – and a Troll Spearthrower and a Goblin Archer standing guard. We all move as close to the exit ladder as we can, possibly escaping the dungeon before the monsters are activated again.
Unfortunately, the Huntress is missing 1 Action Point to get out by herself, but with a little trick and some help from the Adventurer, she is able to make it within this round still. However, that means, the Adventurer has to climb out last, being attacked by most monsters near the exit. As the Adventurer has a lot of armor, the group decides to move out and use this plan.
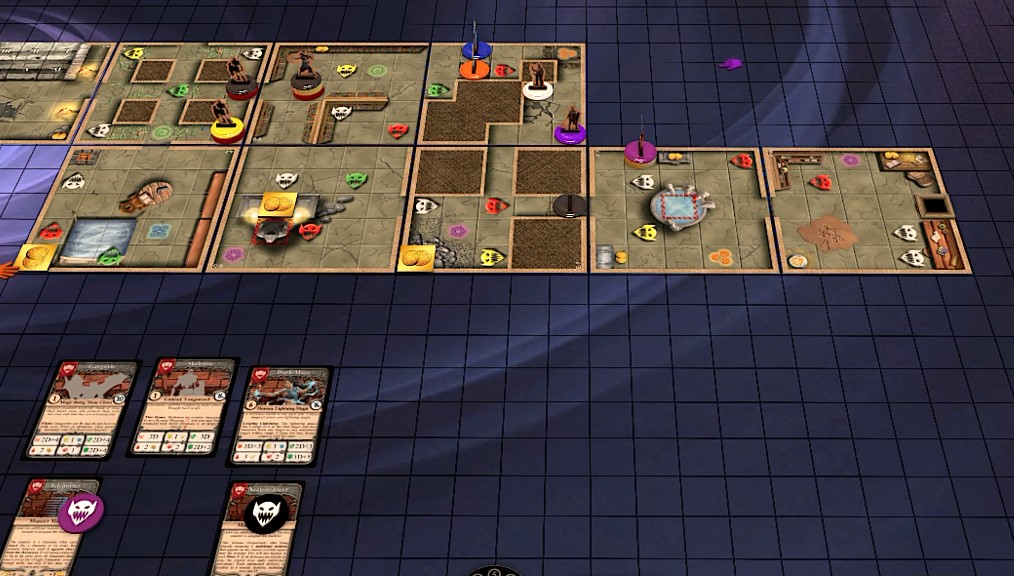
The Shield-Maiden and Mage easily climbed out, rolling both successes on their target roll. Before the Huntress can try, the monsters attack, doing heavy damage on both the Adventurer and the Huntress. The Huntress then quickly escapes with the help of the Adventurer.
The Adventurer also tries to climb out – but only rolls a 4 and a 1 – overall 5, where a 10 was required. Unfortunately, the Adventurer is so badly wounded by now, that he passes out and becomes unconscious with the next initiative. The monsters get him and the scenario is lost, losing one character of the group. Running from the monsters was a gamble that did not pay out – without the dead end in the last room, we may have made it out pretty unscathed, but the random dungeon was the Adventurers death…
Subscribe to the Newsletter, if you also want to try out the game on Tabletop Simulator or Tabletopia.